How to stop your newsletters landing in spam folders
There is nothing more frustrating than having your inbox filled with spam emails from bots and the likes! What is even more frustrating is when you find your own business newsletters are being treated as spam and landing in spam folders. Frustrating!
It’s important to note that spam can negatively impacts deliverability rates, and we want to make sure your emails reach their recipients.
In this article we will explore how to get around your emails landing in spam, but firstly allow me to explain what spam and spam filters are.
Spam is defined as “Spam is digital junk mail: unsolicited communications sent in bulk over the internet or through any electronic messaging system.”
Most of us know in today’s online world we are seeing so many spam emails coming in that look authentically from someone or an organisation we know, but when we check the email address they’re fake and possibly contain links for hackers to access our personal system and data. Yikes!
Spam filters are designed to help filter unsolicited emails from landing in our inbox.
Not all spam filters function the same way, so it can be difficult to nail down the exact criteria for judging spam. However, there are some basic characteristics of spam that tend to hold true. You can read more about spam filters here.
Let’s explore what you can do to avoid being flagged as spam and landing in the dreaded spam folder;
Double Opt-In
Set up a double opt-in feature when creating your sign ups. This way new subscribers have to confirm they wanted to sign up.
Don’t Buy Lists
Avoid purchasing a list from anywhere. You are better to use advertising means like Facebook Ads to target your set market and grow your list authentically.
Engage Sooner Rather Than Later
When someone signs up to your mailing list, create an automation sequence welcoming so they’re immediately gaining engagement from you.
Sign Up Thank You Page
Once someone has signed up, prompt them to add your email address to their contacts so they’re system instantly recognises your email and avoids the spam folder.
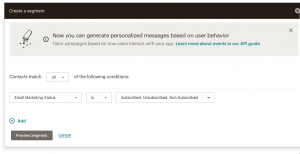
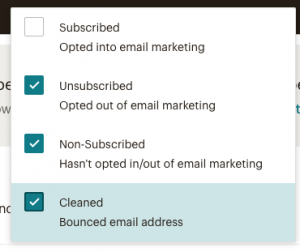
Clean Up Your List
If you have subscribers who haven’t interacted with your emails or opened the last 5, then remove them. Firstly, they’re impacting your open rate.
Be aware of your email subject heading
Yes even your email subjects can impact your email landing in spam. Hubspot have a great article outlining key words to avoid as have Snov Labs with their list of 550+ spam triggering words
Some other great articles that may help you are
29 Email Deliverability Tips You Must Know in 2021
188 Spam Word to Avoid: How to Stay out of Spam Email Filters