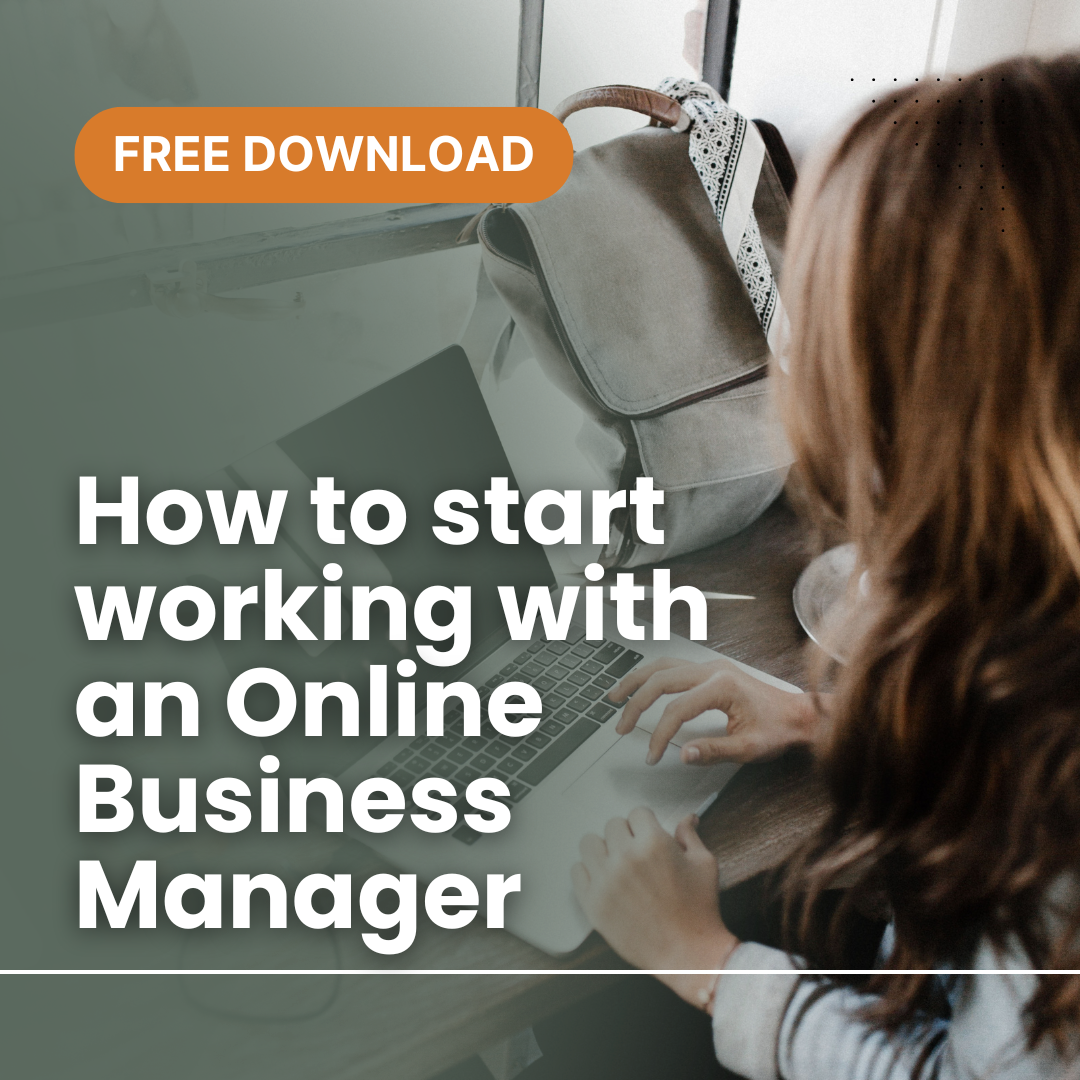
by Anne Clark | Jun 2, 2024 | Business, Canva, Creative
Canva is a powerful, user-friendly design tool that has revolutionised how people create visual content. Whether you’re a small business owner, a social media manager, or just someone who loves designing, Canva can help you produce professional-looking graphics without needing advanced design skills. If you’re new to Canva, here are some of the best tips and tricks to get you started on your design journey.
1. Get Familiar with Canva’s Interface
Before diving into design, take a few minutes to explore Canva’s interface. Familiarise yourself with the toolbar on the left, where you can access templates, elements, text, and uploads. The top bar provides options for undoing actions, resizing designs, and accessing additional settings. Understanding the layout will help you navigate the platform more efficiently.
2. Start with Templates
One of Canva’s greatest strengths is its vast library of templates. For beginners, starting with a template can save time and provide inspiration. Whether you need a social media post, a presentation, or a flyer, there’s a template for almost everything. Choose a template that matches your needs and customize it to fit your brand.
3. Use the Search Function
Canva’s search function is a powerful tool for finding specific elements, photos, and templates. If you have a particular theme or style in mind, use keywords to search for relevant assets. This can save you time and help you find exactly what you need.
4. Learn to Use Layers
Understanding layers is crucial for effective design. In Canva, elements are stacked in layers, which you can rearrange to bring items forward or send them backward. Right-click on an element to adjust its layering. This feature is particularly useful when working with multiple design elements.
5. Utilise Grids and Frames
Grids and frames are excellent tools for organizing your design. Grids help you align elements neatly, ensuring your design is balanced. Frames allow you to insert images that fit perfectly within shapes. Drag and drop your photos into frames to create clean, professional-looking compositions.
6. Customise Colours and Fonts
Brand consistency is key, even for beginners. Customize your designs by using your brand’s colours and fonts. Canva allows you to save brand colours and upload custom fonts if you have a Canva Pro account. Consistent use of colours and fonts helps in creating a cohesive brand identity.
7. Experiment with Transparency
Adding transparency to elements can create a stylish, layered look. Select the element you want to adjust and use the transparency slider in the top-right corner to make it more see-through. This is especially useful for backgrounds or overlays.
8. Group Elements for Easier Editing
When working with multiple elements, grouping them can simplify the editing process. Select the elements you want to group, right-click, and choose “Group.” This way, you can move and resize them together without disrupting the layout.
9. Take Advantage of Canva’s Design School
Canva offers a wealth of educational resources through its Design School. From beginner tutorials to advanced design tips, you can find video lessons and articles to enhance your design skills. Spending some time in Design School can pay off significantly in improving your designs.
10. Save Your Work in Folders
As you create more designs, keeping them organized becomes important. Canva allows you to save your designs in folders. Use folders to categorise your work, making it easier to find and manage your projects later.
11. Use Keyboard Shortcuts
Keyboard shortcuts can speed up your design process. Here are a few useful ones:
- Ctrl/Cmd + D: Duplicate an element
- Ctrl/Cmd + Z: Undo
- Ctrl/Cmd + Shift + Z: Redo
- Ctrl/Cmd + A: Select all elements
- Ctrl/Cmd + G: Group selected elements
- Ctrl/Cmd + Shift + G: Ungroup selected elements
12. Export in the Right Format
When your design is ready, export it in the appropriate format. Canva offers various export options, including PNG, JPG, PDF, and more. For web use, PNG is often the best choice for its quality. For print, use PDF to maintain resolution and clarity.
With these tips and tricks, you’re well on your way to becoming a Canva pro. Remember, practice makes perfect, so keep experimenting with different features and styles. Canva’s intuitive interface and vast resources make it an excellent tool for beginners looking to create stunning designs. Happy designing!

by Anne Clark | May 23, 2023 | Business, How To
Utilise “Bulk Create” to Save Time on Repetitive Designs. If you’re working on designs for business cards, invitations, certificates, labels, or anything with minor text changes (such as names, dates, or numbers), you can save valuable time by using the Bulk Create feature. This allows you to create multiple versions of the same design with ease.
Step 1: Accessing the Bulk Create tab
Go to the Bulk create tab to get started.
- Select a template or design you want to use for bulk creation.
- From the editor side panel, select Apps.
- Under More from Canva, select Bulk create.
Step 2: Importing data for Bulk Create
You can add the data to be used for Bulk create using different methods. You can enter data manually and connect images, or upload a CSV file that includes the data. More on these below.
If you prefer entering data manually, you can do it from the Bulk create tab.
- From the Bulk create tab on the editor side panel, click Enter data.
- Delete the sample data by clicking on Clear data.
- Enter or paste the data into the table.
- If you need to add more columns or rows, click on a table cell.
- Click Accept to proceed.
You can also connect images you’ve uploaded to Canva. You can then assign these images to elements in the design covered in Step 3 below.
- From the Bulk create tab on the editor side panel, click Enter data.
- From the table, click Add data to add a new column.
- Select Image.
Click the + icon on the cell to find the image or video you want to upload.
Comma separated value (CSV) files are text-based files that allow data to be saved in a table format. CSV files are usually made using spreadsheet programs like Microsoft Excel, Google Sheets, or Numbers.
To save or convert a spreadsheet into a CSV file:
- Open the spreadsheet with the data you want to use for Bulk create. If you don’t have a spreadsheet yet, you can create one using the spreadsheet programs mentioned above.
- Check that the data is in the correct order and in clearly labeled columns.
- If you’re using Google Sheets, click File and then Download. If you’re using Microsoft Excel, click File and then Save As. If you’re using Numbers, click File and then Export To….
- Pick the .csv file option as the document type.
To upload a CSV file:
- From the Bulk Create tab on the editor side panel, click Upload CSV.
- Select the CSV file with the data for Bulk create.
See Step 3: Connecting elements below for the next steps.
Step 3: Connecting data to your elements
After uploading the data, the next step is connecting it to the elements on the design. For example, if you’re creating a business card design, you need to connect the “First name” and “Last name” elements to the correct columns from the data table.
- On the page of your design, right-click on the element you want to connect.
- Click Assign data.
- Select the data field you want to connect the element to.
- If you’d like to attach an image, you need to add a frame element. You can add a frame from the Elements tab of the editor side panel.
- Repeat from Step 2 until you’ve connected all columns. If your design has multiple pages, go to the page with the element you want to connect and repeat from Step 1.
- Click Continue to proceed.
Step 4: Creating designs in bulk
The final step before bulk creation is to select which data to use.
- Select the data you’d like to use. All data is selected by default. You can untick the data you don’t want to use.
- Click Generate. Once done, the pages created in bulk will open on a new tab.
- Check if the pages are generated correctly. Adjust the elements as needed.

by Anne Clark | Sep 15, 2022 | Business, Digital Marketing
On September 14, 2022, Canva brought together its global community for Canva Create 2022: The Future is Visual.
What a fantastic and engaging event. The smallest details certainly made it fun, from the presenters where the colours to match the icon updates they were presenting.
The juicy stuff….
Here is what you can now also get in your Canva account, drum roll please …..
Canva Docs.
Say hello to a visual-first document creator that allows you to design docs supercharged with videos, images, graphics, charts, and graphs.
Website Creation
Create free one-page websites with Canva. Choose from free and paid domains, drag and drop content, and go live within moments.
Whiteboard collaboration
Brainstorm creative ideas and collaborate with teammates in real time. All Canva users and teams now have access to Whiteboards.
Video Background Remover
You can already do images, and now you can do videos! #squealwithexcitment No need for a green screen or advanced software – remove the background of any video with just one click.
Presentation Data Elevation
We’ve teamed up with data visualization tool, Flourish, to give you the ability to add interactive charts, maps, and stories to your Canva designs.
Print Catalog with a sustainability factor
We’re expanding our print catalog with more stationery, marketing materials, signage, and merch, so you can bring your brand to life on more products. Plus, for each print you order, we’ll plant one tree.