by Anne Clark | Jun 3, 2024 | Business, Business Services, Creative
I wanted to chat about whether blogging was dead or not, this has been a question asked of me by a couple of colleagues. The short answer is NO it’s well and truly alive. The current state of blogging, its evolution, and why it still holds significant value.
Blogging began as a personal journal, a space for individuals to share their thoughts, experiences, and expertise. Over time, it has evolved into a powerful tool for businesses, influencers, and marketers. The rise of social media and video platforms has undeniably changed how people consume content, but rather than rendering blogging obsolete, these changes have reshaped its purpose and format.
Blogs serve as a central hub for content. While social media posts and videos are often fleeting, blogs provide a permanent space where content can be housed, referenced, and shared. This permanence allows for deeper, more detailed exploration of topics than the quick snippets found on social media. Moreover, blog posts can be repurposed into various formats such as infographics, podcasts, or videos, extending their reach and longevity.
Blogs are a powerful tool for building authority and trust. By consistently sharing valuable insights, expertise, and updates, bloggers can establish themselves or their brands as thought leaders in their respective fields. This authority builds trust with audiences, which is crucial for fostering long-term relationships and customer loyalty.
Incorporating blogging into your long-term business strategy is a powerful way to build credibility, demonstrate expertise, and ensure your target market can easily find you. When executed with the right SEO setup and keyword focus, blogging becomes an indispensable tool for business growth and customer engagement.
A well-maintained blog showcases your knowledge and authority in your field. By consistently sharing valuable insights, tips, and updates, you position yourself as a thought leader. This not only builds trust with your audience but also enhances your reputation as a credible source of information.
Are you ready to harness the power of blogging for your business or personal brand? Email me to book in a strategy session to discover how we can create compelling, SEO-optimised content that resonates with your audience and drives results. Let’s transform your blog into a powerful platform for growth and engagement.
If you need help to build your business blog, then please feel free to reach out to me.
by Anne Clark | Jun 2, 2024 | Business, Canva, Creative
Canva is a powerful, user-friendly design tool that has revolutionised how people create visual content. Whether you’re a small business owner, a social media manager, or just someone who loves designing, Canva can help you produce professional-looking graphics without needing advanced design skills. If you’re new to Canva, here are some of the best tips and tricks to get you started on your design journey.
1. Get Familiar with Canva’s Interface
Before diving into design, take a few minutes to explore Canva’s interface. Familiarise yourself with the toolbar on the left, where you can access templates, elements, text, and uploads. The top bar provides options for undoing actions, resizing designs, and accessing additional settings. Understanding the layout will help you navigate the platform more efficiently.
2. Start with Templates
One of Canva’s greatest strengths is its vast library of templates. For beginners, starting with a template can save time and provide inspiration. Whether you need a social media post, a presentation, or a flyer, there’s a template for almost everything. Choose a template that matches your needs and customize it to fit your brand.
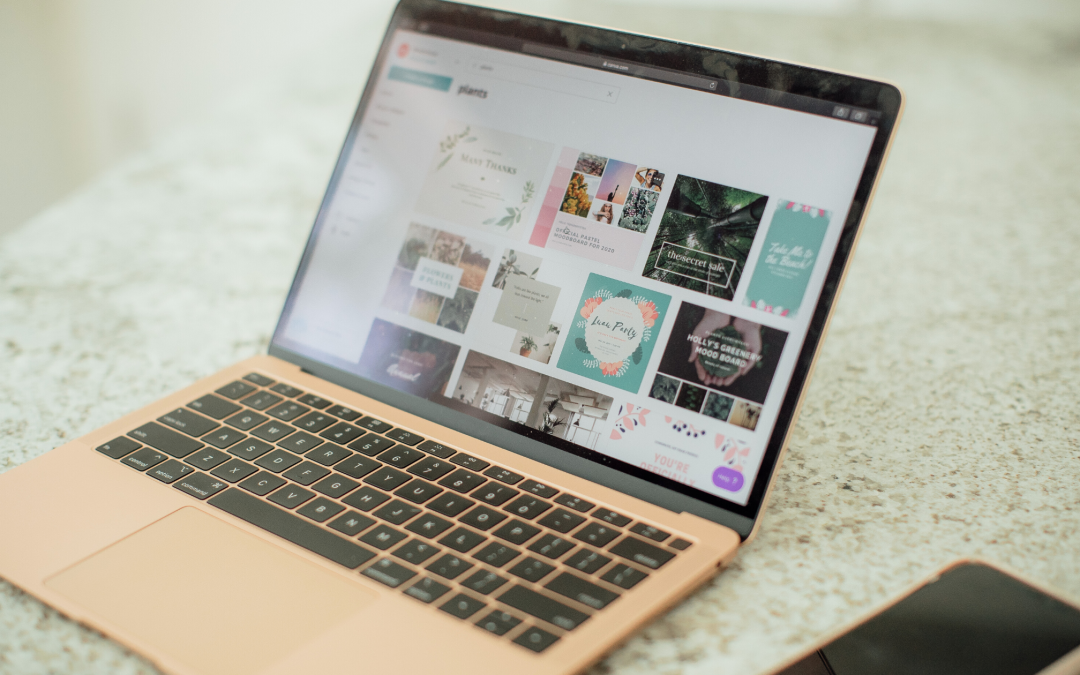
3. Use the Search Function
Canva’s search function is a powerful tool for finding specific elements, photos, and templates. If you have a particular theme or style in mind, use keywords to search for relevant assets. This can save you time and help you find exactly what you need.
4. Learn to Use Layers
Understanding layers is crucial for effective design. In Canva, elements are stacked in layers, which you can rearrange to bring items forward or send them backward. Right-click on an element to adjust its layering. This feature is particularly useful when working with multiple design elements.
5. Utilise Grids and Frames
Grids and frames are excellent tools for organizing your design. Grids help you align elements neatly, ensuring your design is balanced. Frames allow you to insert images that fit perfectly within shapes. Drag and drop your photos into frames to create clean, professional-looking compositions.
6. Customise Colours and Fonts
Brand consistency is key, even for beginners. Customize your designs by using your brand’s colours and fonts. Canva allows you to save brand colours and upload custom fonts if you have a Canva Pro account. Consistent use of colours and fonts helps in creating a cohesive brand identity.
7. Experiment with Transparency
Adding transparency to elements can create a stylish, layered look. Select the element you want to adjust and use the transparency slider in the top-right corner to make it more see-through. This is especially useful for backgrounds or overlays.
8. Group Elements for Easier Editing
When working with multiple elements, grouping them can simplify the editing process. Select the elements you want to group, right-click, and choose “Group.” This way, you can move and resize them together without disrupting the layout.
9. Take Advantage of Canva’s Design School
Canva offers a wealth of educational resources through its Design School. From beginner tutorials to advanced design tips, you can find video lessons and articles to enhance your design skills. Spending some time in Design School can pay off significantly in improving your designs.
10. Save Your Work in Folders
As you create more designs, keeping them organized becomes important. Canva allows you to save your designs in folders. Use folders to categorise your work, making it easier to find and manage your projects later.
11. Use Keyboard Shortcuts
Keyboard shortcuts can speed up your design process. Here are a few useful ones:
- Ctrl/Cmd + D: Duplicate an element
- Ctrl/Cmd + Z: Undo
- Ctrl/Cmd + Shift + Z: Redo
- Ctrl/Cmd + A: Select all elements
- Ctrl/Cmd + G: Group selected elements
- Ctrl/Cmd + Shift + G: Ungroup selected elements
12. Export in the Right Format
When your design is ready, export it in the appropriate format. Canva offers various export options, including PNG, JPG, PDF, and more. For web use, PNG is often the best choice for its quality. For print, use PDF to maintain resolution and clarity.
With these tips and tricks, you’re well on your way to becoming a Canva pro. Remember, practice makes perfect, so keep experimenting with different features and styles. Canva’s intuitive interface and vast resources make it an excellent tool for beginners looking to create stunning designs. Happy designing!
by Anne Clark | Sep 19, 2023 | Business, Creative, How To
Welcome to the ultimate Canva tutorial for beginners! Designing like a pro has never been easier with Canva, the popular graphic design platform that empowers anyone to create stunning visuals. Whether you’re a business owner, marketer, student, or simply someone looking to enhance their design skills, this comprehensive tutorial will take you from novice to expert in no time.
In this tutorial, we will guide you through the various features and tools of Canva, providing step-by-step instructions and insider tips to help you create professional designs that captivate your audience. From choosing the right templates to mastering the art of typography, we’ve got you covered.
With Canva’s intuitive interface and expansive library of design elements, you’ll discover endless possibilities for creating eye-catching graphics, social media posts, presentations, and more. No design experience? No problem! Our tutorial is designed to make the learning process fun and accessible for everyone.
Join us as we unlock the secrets of designing like a pro with Canva. Get ready to unleash your creativity and bring your ideas to life in a visually stunning way. Let’s dive in and start designing like a pro with Canva!
Why use Canva for design?
Canva is a powerful and user-friendly graphic design tool that allows you to create professional-looking designs without any prior experience or technical skills. Whether you’re a business owner, marketer, or student, Canva is the go-to platform for all your design needs. Here are some reasons why you should use Canva for your design projects:
User-friendly interface
Canva’s interface is designed to be intuitive and user-friendly, making it easy for anyone to create professional-looking designs without any prior experience or technical skills. The drag-and-drop interface makes it easy to add and manipulate design elements, while the toolbar provides quick access to all the tools and features you need.
Expansive library of design elements
Canva has a vast library of design elements, including templates, graphics, photos, and fonts, that you can use to create stunning designs. With Canva’s library, you don’t need to spend time searching for the right images or graphics for your design – everything you need is right at your fingertips.
Collaboration and team projects
Canva allows you to collaborate with team members on design projects, making it easy to work together and share ideas. You can invite team members to view and edit your designs, and Canva also provides a comments feature that allows you to give feedback and make suggestions.
Canva features and tools
Canva offers a wide range of features and tools that allow you to create professional-looking designs in minutes. Here are some of the key features and tools you need to know:
Templates
Canva’s templates are pre-designed layouts that you can use as a starting point for your design. There are templates available for a wide range of design projects, including social media graphics, presentations, posters, flyers, and more. You can choose a template that fits your design needs and customize it to make it your own.
Graphics
Canva has a vast library of graphics that you can use to enhance your designs. These graphics include icons, illustrations, shapes, and more. You can browse through the library and choose the graphics that best fit your design needs, and then customize them to match your branding and style.
Photos
Canva’s photo library includes millions of high-quality images that you can use in your designs. You can search for specific images by keyword or browse through the different categories to find the perfect image for your design. Once you’ve found the right image, you can customize it using Canva’s editing tools.
Text
Canva’s text editing tools allow you to add and customize text in your designs. You can choose from a wide range of fonts and styles, and then adjust the size, color, and spacing to make your text stand out. Canva also offers a range of text effects, such as drop shadows and outlines, that you can use to make your text more visually appealing.
Canva design tips and best practices
To create professional-looking designs with Canva, it’s essential to follow some design tips and best practices. Here are some tips to help you get started:
Keep it simple
When it comes to design, less is often more. Simplify your design by removing any unnecessary elements and focusing on the key message you want to convey. Use white space to create a clean and uncluttered design that is easy to read and understand.
Use colour wisely
Colour is a powerful tool in design, but it can also be overwhelming if not used correctly. Choose a colour palette that complements your branding and use it consistently throughout your design. Use contrasting colours to make important elements stand out and avoid using too many different colours in one design.
Choose the right font
The font you choose can have a significant impact on the overall look and feel of your design. Choose a font that is easy to read and complements your branding. Use different font sizes and styles to create a hierarchy of information and make important elements stand out.
Creating professional social media graphics with Canva
Social media is a powerful tool for businesses and individuals to connect with their audience. With Canva, you can create professional-looking social media graphics that help you stand out from the crowd. Here are some tips for creating social media graphics with Canva:
Use the right dimensions
Each social media platform has its own recommended dimensions for images and graphics. Make sure you use the right dimensions for each platform to ensure that your graphics look professional and are optimized for each platform.
Be consistent with branding
When creating social media graphics, it’s essential to be consistent with your branding. Use your brand colours, fonts, and style to create graphics that are instantly recognizable and reinforce your brand message.
Use eye-catching visuals
Social media is a visual platform, so it’s essential to use eye-catching visuals in your graphics. Use high-quality images and graphics that grab the attention of your audience and make them want to engage with your content.
Designing eye-catching presentations with Canva
Presentations are a powerful tool for businesses, students, and individuals to share information and ideas. With Canva, you can create professional-looking presentations that captivate your audience. Here are some tips for designing eye-catching presentations with Canva:
Use the right template
Canva offers a wide range of presentation templates that you can use as a starting point for your design. Choose a template that fits your content and customize it to make it your own.
Use visuals to enhance your message
Visuals are a powerful tool in presentations, as they help to break up text and make your message more engaging. Use images, graphics, and charts to illustrate your points and make your presentation more visually appealing.
Keep it simple and concise
When it comes to presentations, less is often more. Keep your slides simple and concise, with a clear message on each slide. Use bullet points and short sentences to make your content easy to read and understand.
Designing stunning infographics with Canva
Infographics are a popular way to present complex information in a visually appealing way. With Canva, you can create stunning infographics that help you communicate your message effectively. Here are some tips for designing infographics with Canva:
Choose a compelling topic
The topic of your infographic should be compelling and relevant to your audience. Choose a topic that is interesting and informative, and that can be presented visually.
Use data to support your message
Infographics are often used to present data and statistics in a visually appealing way. Use data to support your message and make your infographic more informative and engaging.
Use visuals to tell a story
Infographics should tell a story and take the reader on a journey. Use visuals, such as icons and illustrations, to guide the reader through the information and make it more engaging.
Canva templates and customization options
Canva offers a wide range of templates and customization options that allow you to create professional-looking designs in minutes. Here are some of the customization options you need to know:
Customizing templates
Canva’s templates are designed to be customizable, allowing you to make them your own. You can change the colours, fonts, and images to match your branding and style, and add your own text and graphics to make the template unique.
Creating custom designs
Canva also allows you to create custom designs from scratch. You can choose the dimensions of your design, add your own images and graphics, and customize the text and colors to create a unique design that meets your needs.
Branding kit
Canva’s branding kit allows you to save your brand colors, fonts, and logos, making it easy to apply them consistently across all your designs. With the branding kit, you can create professional-looking designs that are instantly recognizable as part of your brand.
Canva for collaboration and team projects
Canva is not just a design tool – it’s also a powerful collaboration tool that allows you to work with team members on design projects. Here are some of the collaboration features you need to know:
Sharing designs
Canva allows you to share your designs with team members, making it easy to collaborate and share ideas. You can invite team members to view and edit your designs, and Canva also provides a comments feature that allows you to give feedback and make suggestions.
Assigning roles and permissions
Canva allows you to assign roles and permissions to team members, giving you control over who can edit and view your designs. You can choose from different roles, such as editor or viewer, and assign permissions accordingly.
Team templates
Canva also allows you to create team templates, which are pre-designed layouts that can be used by team members to create consistent designs. Team templates can be customized to match your branding and style, and can be shared with team members for easy access.
Your next steps
Congratulations, you’ve completed the ultimate Canva tutorial for beginners! You now have the skills and knowledge you need to create professional-looking designs with Canva. Whether you’re creating social media graphics, presentations, infographics, or any other type of design, Canva has everything you need to bring your ideas to life.
To continue your learning journey, explore Canva’s vast library of design elements and experiment with different templates and customization options. And remember, the key to designing like a pro is practice – so keep designing and have fun!