How to create a landing page in Mailchimp
What are landing pages and why do businesses use them?
A landing page allows you to create a page focusing on an offer that your target audience wants. As a landing page is created only specifically for content of ‘value’ to your audience, it captures all relevant information on that page and avoids your target market getting distracted by other pages on your website.
How many times have you landed on a website and gone to do something specific and ended up somewhere completely different, because you were distracted by other areas of the website. A landing page helps eliminate those distracts for your audience.
Landing Pages and Mailchimp
Mailchimp help support small businesses, especially with low budgets and offer some of their amazing features under their free option level, and more premium features on their paid levels.
Landing pages are great for building a buzz on products, or getting a key message out to your audience.
Mailchimp had templates to cater to some of the following:
How to set up your Mailchimp landing page
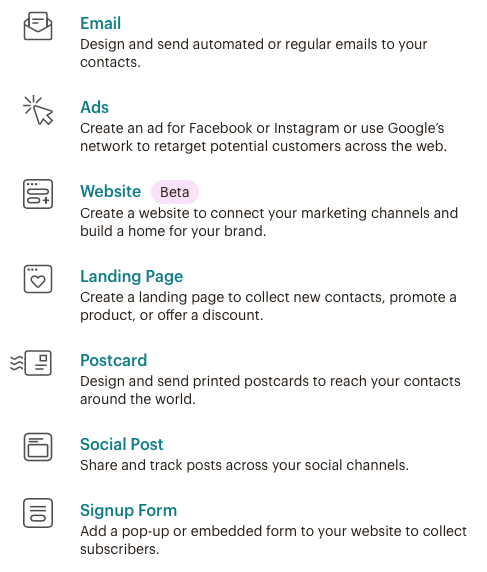
Sign into your Mailchimp account
Click on the CREATE dropdown menu button

Click on LANDING PAGE
Name your landing page AND select the AUDIENCE group the landing page will be directing sign ups to.
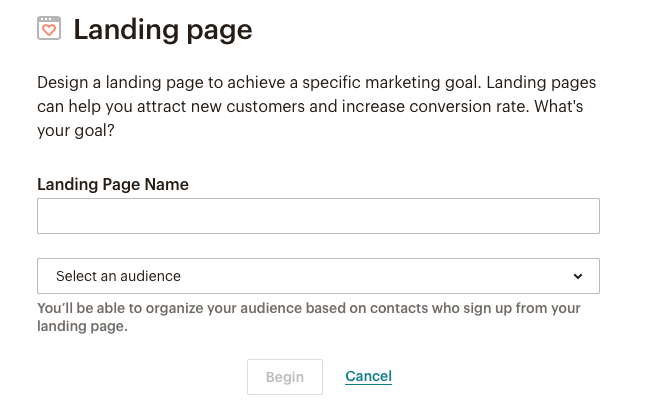
Click the BEGIN button
You will now land at the following page.
SELECT A TEMPLATE you want to use. You can edit any template, so choose the one that is a style you like. Look at the names of the templates, which will help give you an indication on what they’ll achieve for you. For this example I have selected GROW YOUR LIST blank template.
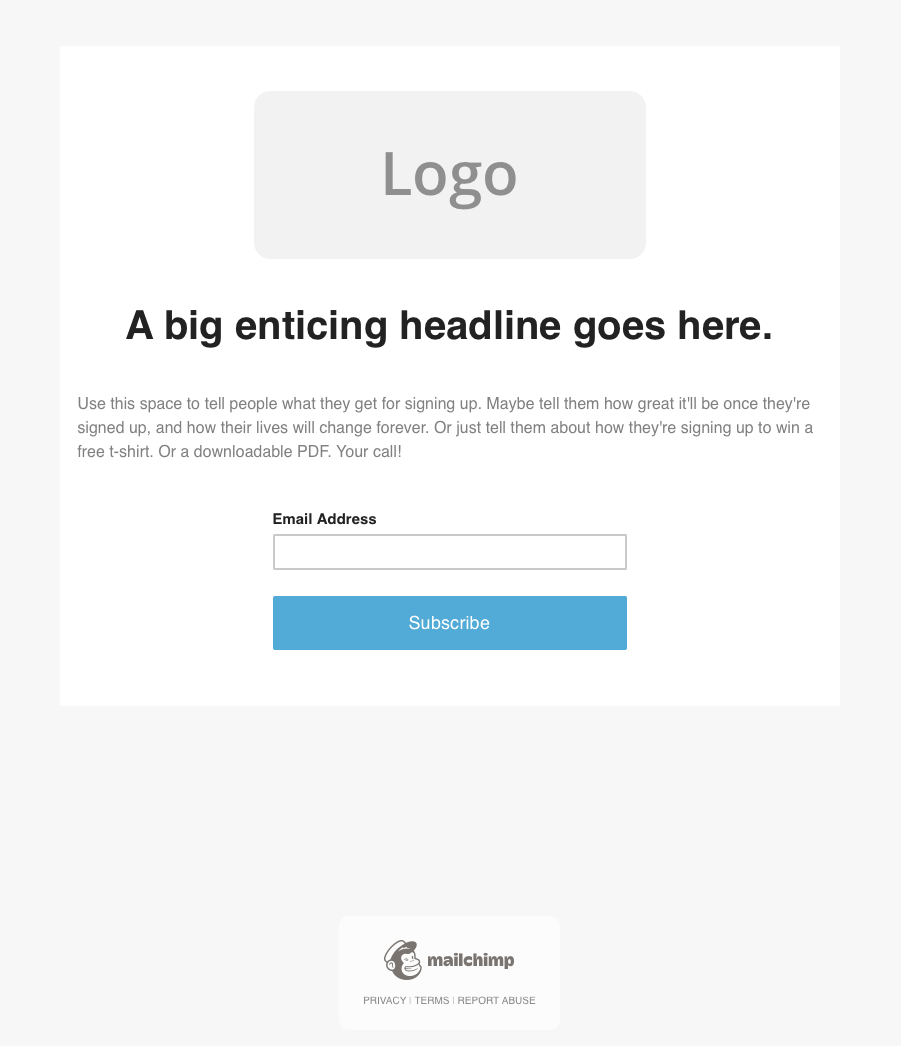
Click on the LOGO to add your logo (or header image if desired)
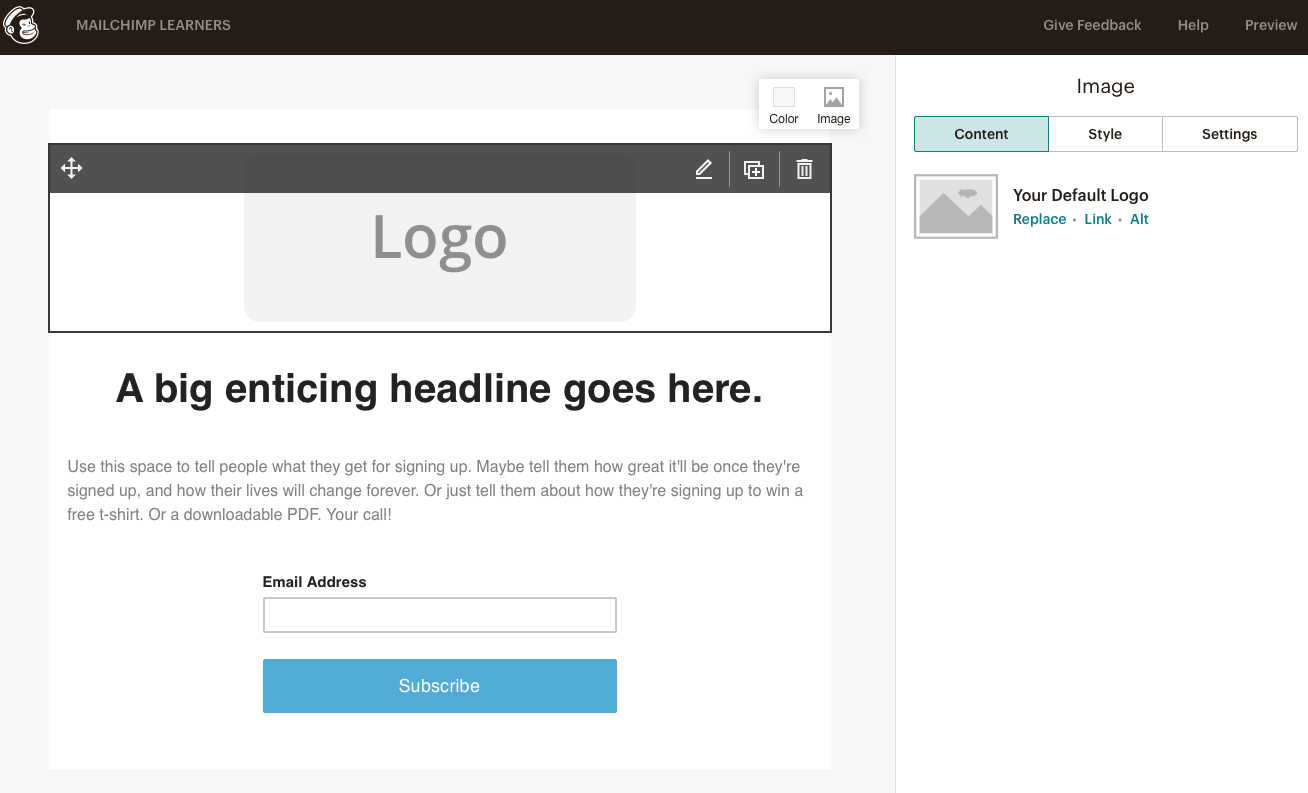
EDIT YOUR TITLE
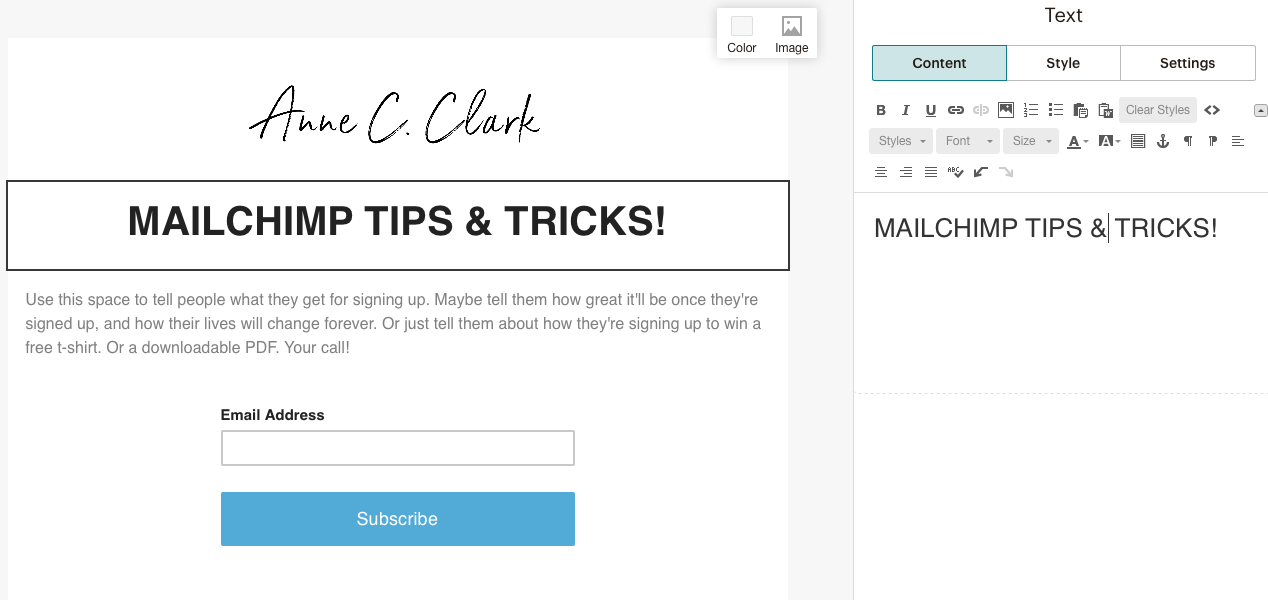
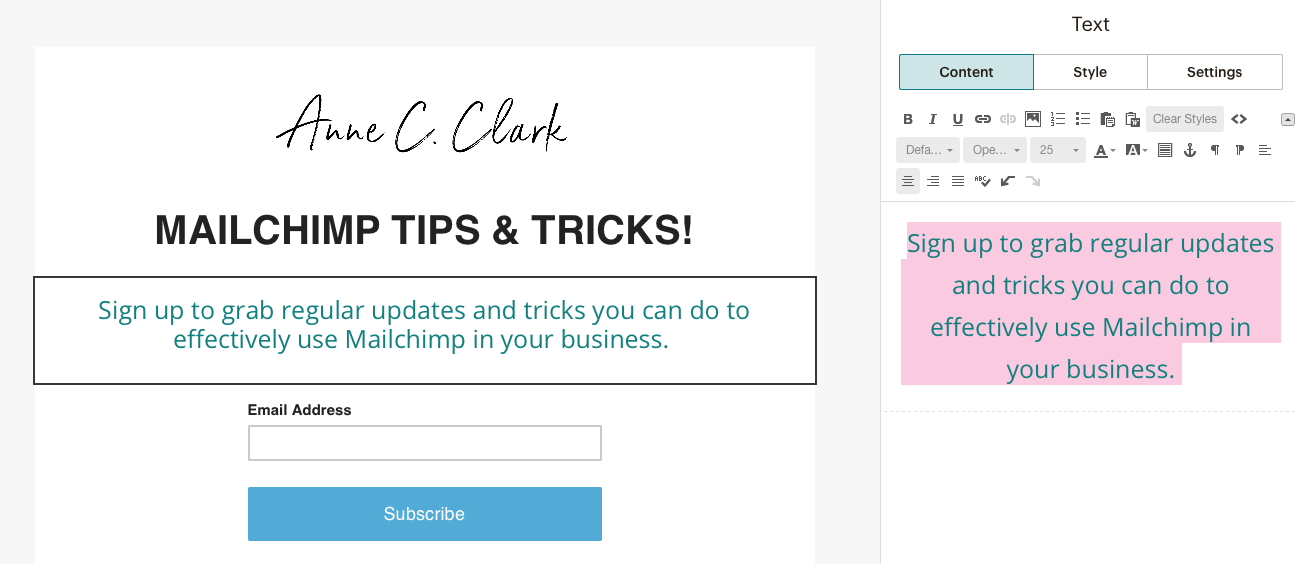
Add in your ‘pitch’ for your audience. You can edit the style and colours etc on the right hand side, just as you would in a campaign (newsletter) creation.
CLICK ON THE SIGN UP FORM SECTION
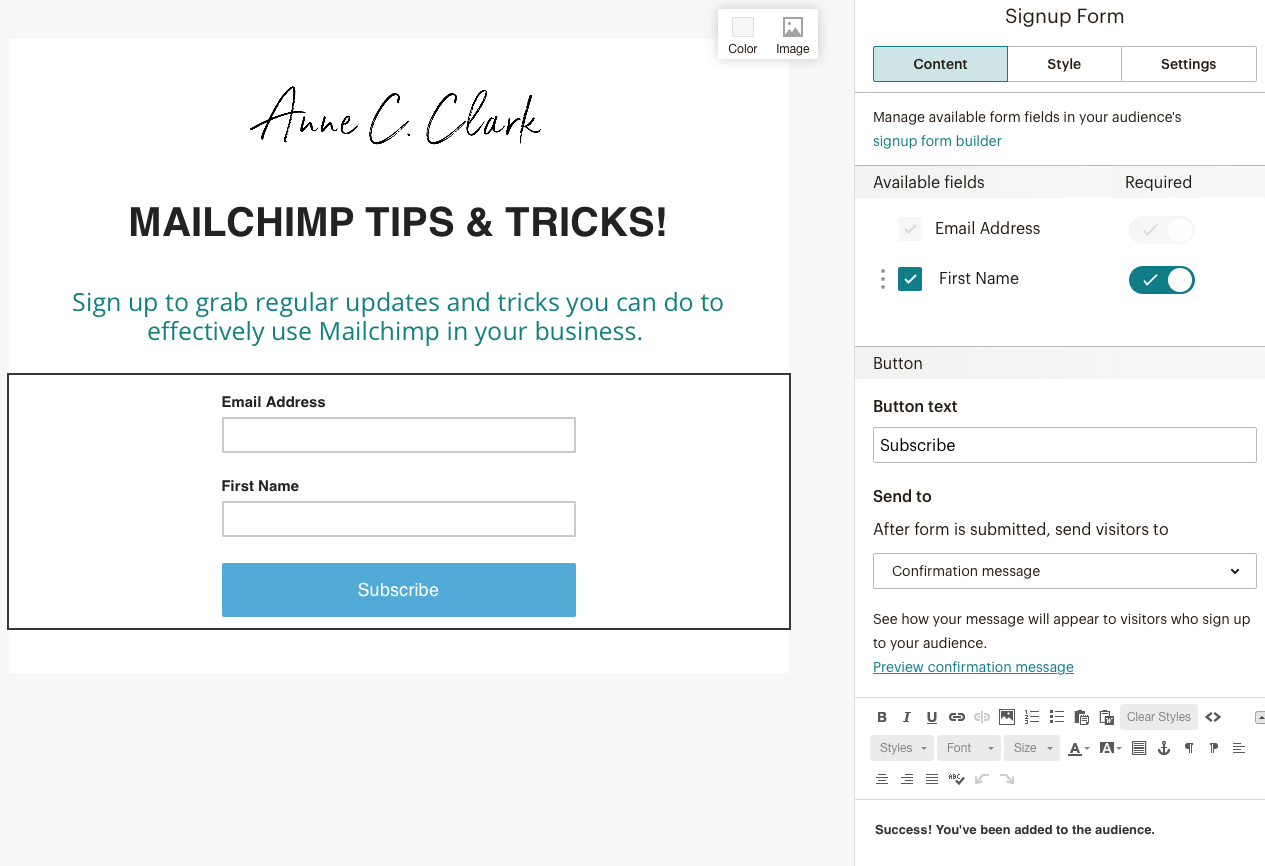
On the right hand side are the options to show what you can include. Eg: You can add FIRST NAME and you can make it a required field.
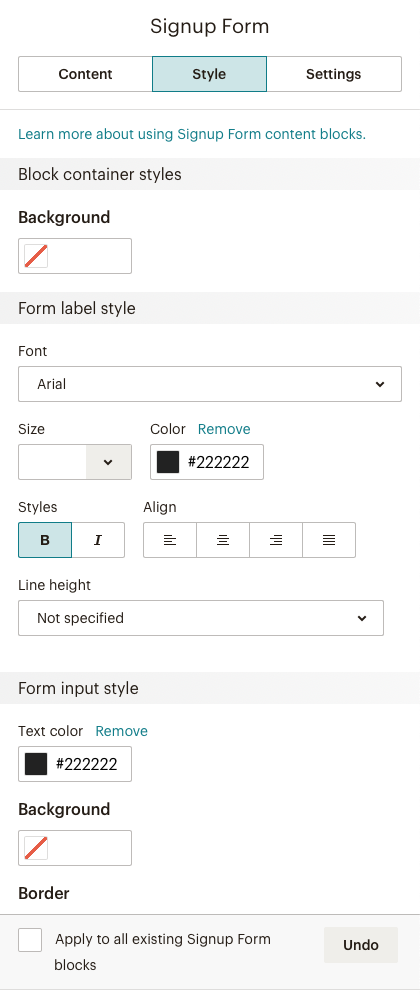
You can also adjust your button words SUBSCRIBE
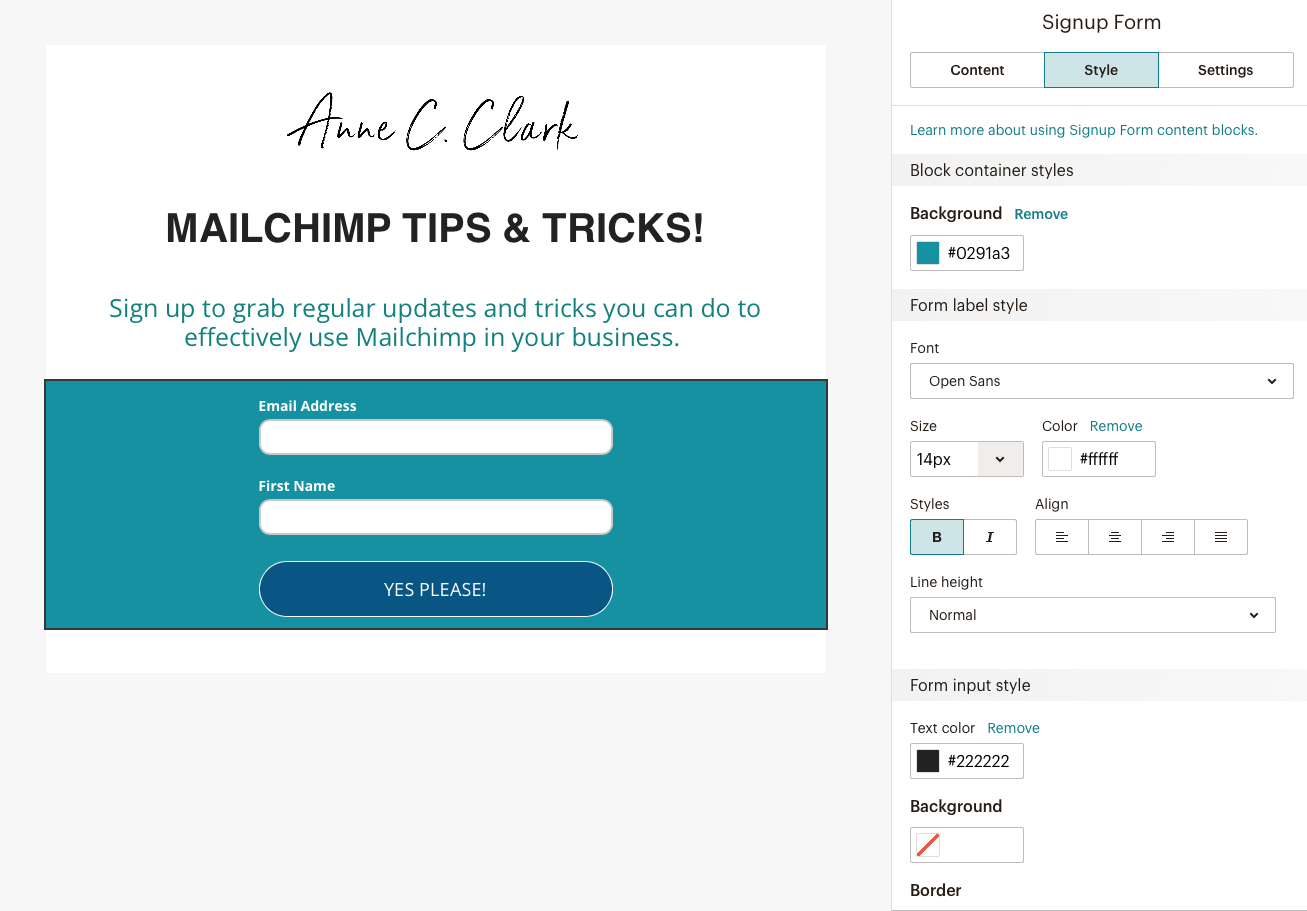
To adjust the style of the SIGN UP FORM, click on the middle tab called STYLE.
Once finished click SAVE & CLOSE.
TO ADD YOUR BACKGROUND, click to the MAIN MENU and click on DESIGN tab and then PAGE, this will allow you to add your background image or colour.
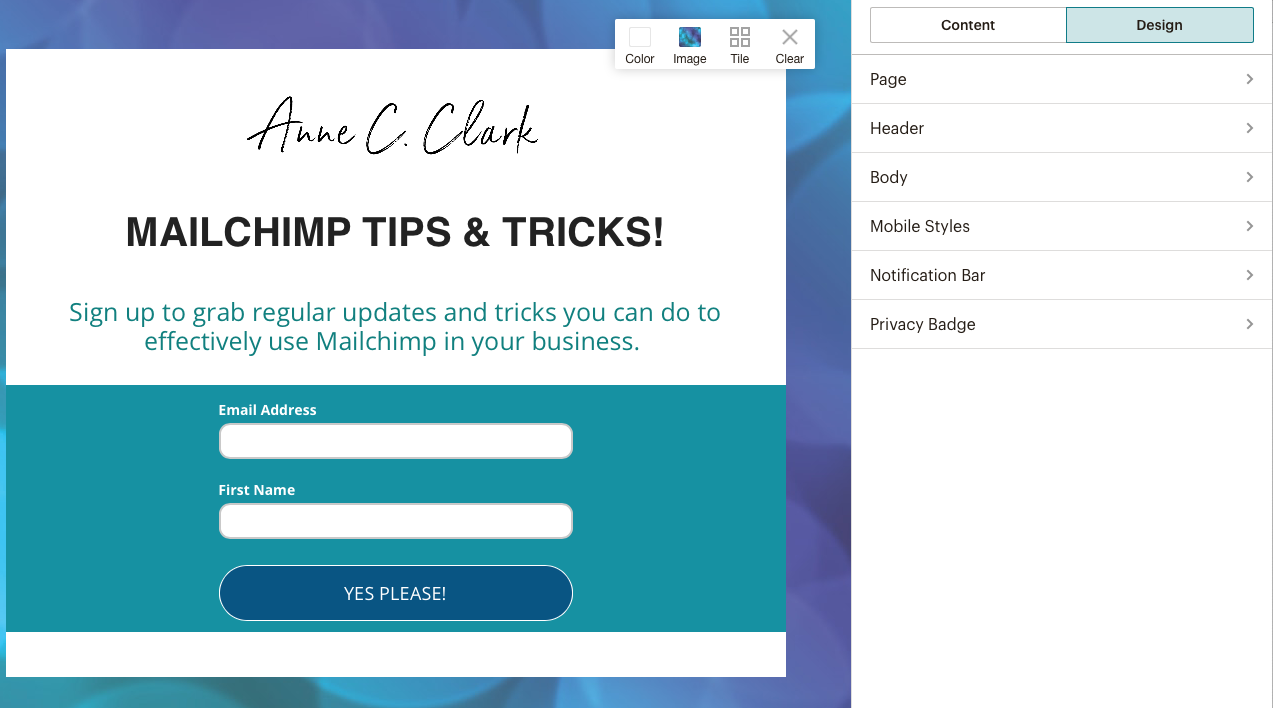
If at any stage you want or need to change any section of your landing page, you can do so through this page.
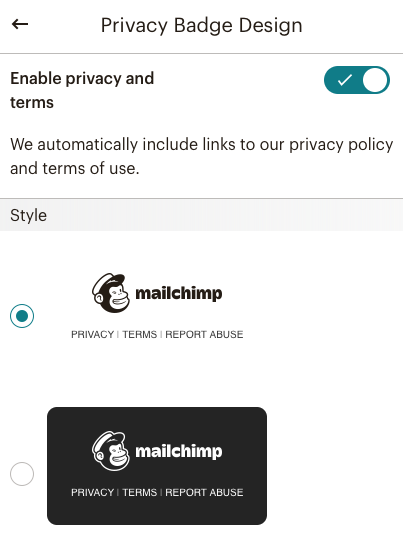
TO REMOVE THE MAILCHIMP LOGO at the footer of the landing page and privacy information, you need to have a paid account, and you can simply click the option off.
If at any stage you want to PREVIEW your landing page, you can click PREVIEW on the top right hand side of your Mailchimp page.
![]()
Once you are happy with your landing page, click SAVE.
Now you need to give your page a TITLE.
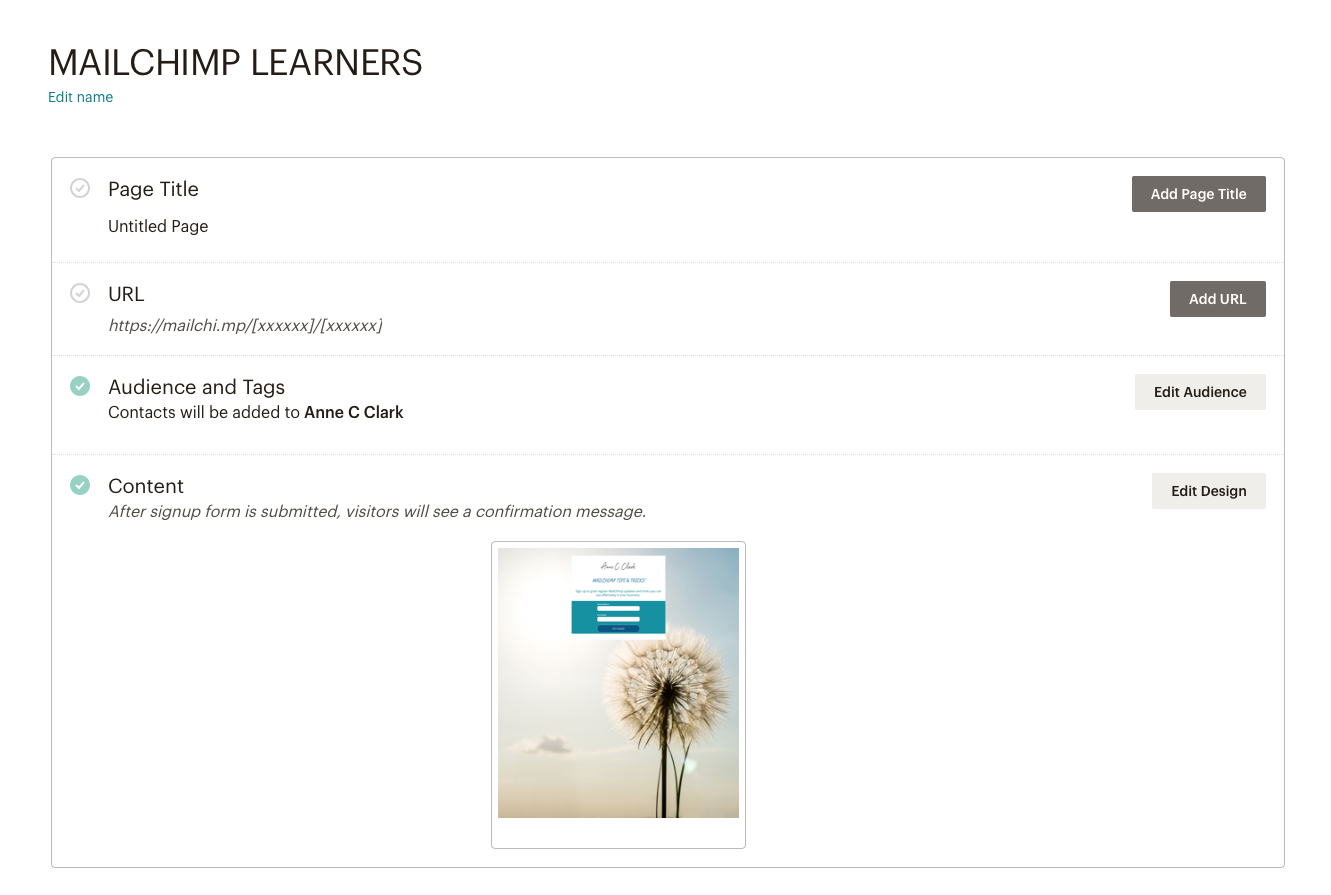
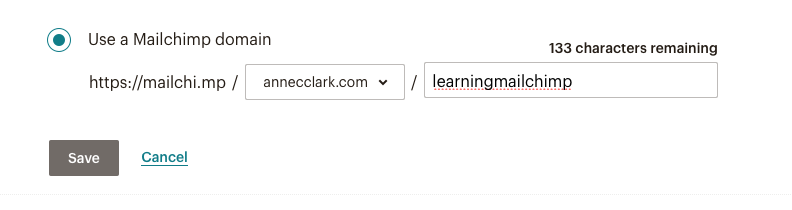
You can add a custom URL. You can connect it to your website, however this is a high paid level.
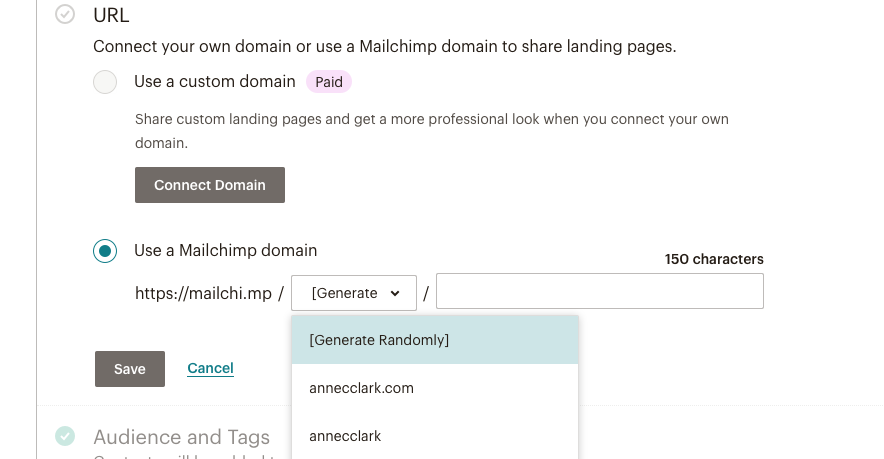
You can add your website address and landing page name to it, as shown below.
Once completed, CLICK ON PUBLISH.
Your landing URL link is now available for you to copy and use.