by Anne Clark | Apr 27, 2024 | Business, Business Services, Kajabi
Getting Started with Kajabi: A Step-by-Step Guide for Beginners
Kajabi is a comprehensive platform that enables entrepreneurs, educators, and creatives to build and manage their online businesses. Whether you’re planning to launch an online course, a membership site, or to market digital products, Kajabi provides all the tools you need in one place. Allow me to walk you through the basics of setting up your Kajabi account and getting your first product or course live!
Step 1: Sign Up and Set Up Your Account
Create an Account
Start by visiting the Kajabi website and signing up for an account. Kajabi offers a free trial, allowing you to explore its features before making any financial commitment. Fill in your details and select the plan that best fits your needs.
Navigate the Dashboard
Once your account is active, take some time to familiarise yourself with the dashboard. This is your control centre where you can access all of Kajabi’s features, such as creating products, setting up marketing campaigns, and analysing performance metrics.
Step 2: Define Your Product
Select a Product Type
Kajabi allows you to create various types of digital products including online courses, coaching programmes, and membership sites. Decide what you want to offer based on your expertise and market demand.
Create Your Product
– Go to the “Products” tab on the dashboard.
– Click on “New Product” and choose the product type.
– Follow the on-screen instructions to name your product and fill in the necessary details.
Step 3: Upload Content
Organise Your Modules and Lessons
Structure your product by creating modules and lessons. This helps in organising the content logically and enhances the learning experience.
Upload Content
– For each lesson, you can upload videos, text, images, and files.
– Use the built-in WYSIWYG editor to format text and embed media.
Set Learning Paths
Decide if learners must complete lessons in sequence or can skip around. This is crucial for structuring courses and ensuring a comprehensive learning journey.
Step 4: Customise Your Site
Design Your Site
Use Kajabi’s website builder to create your home page, landing pages, and blog. Customise the design to match your brand’s aesthetics by choosing themes and editing layouts.
Add Pages and Navigation
Ensure that your site is easy to navigate by setting up a clear menu. Include essential pages such as “About,” “Contact,” and “FAQ.”
Step 5: Set Up Payments and Pricing
Integrate Payment Gateways
Kajabi supports integrations with major payment gateways like Stripe and PayPal. Connect your account to start accepting payments securely.
Define Pricing Models
Decide on your pricing strategy. Kajabi allows you to set up one-time payments, subscriptions, and payment plans. Choose what best suits your product and target audience.
Step 6: Launch Marketing Campaigns
Email Marketing
Utilise Kajabi’s email marketing tools to build your mailing list and engage with your audience. Create automated email sequences that nurture leads and convert them into customers.
Utilise Pipelines
Pipelines are Kajabi’s automated marketing funnels. Set up pipelines to guide potential customers through different stages, from awareness to purchase.
Step 7: Analyse and Optimise
Track Performance
Monitor how your products are performing using Kajabi’s analytics tools. Track sales, user engagement, and other key metrics.
Optimise Based on Insights
Use the insights gained from analytics to optimise your content, marketing strategies, and overall business approach.
Kajabi offers a powerful suite of tools designed to help you launch and grow your online business. By following these steps, you’ll be well on your way to creating a successful digital platform that empowers both you and your audience. Don’t forget that the key to success in Kajabi is continuous learning and adapting. If you need help setting up and launching your Kajabi, then please reach out to me to learn how I can support you.
by Anne Clark | Mar 14, 2024 | Business, Digital Marketing
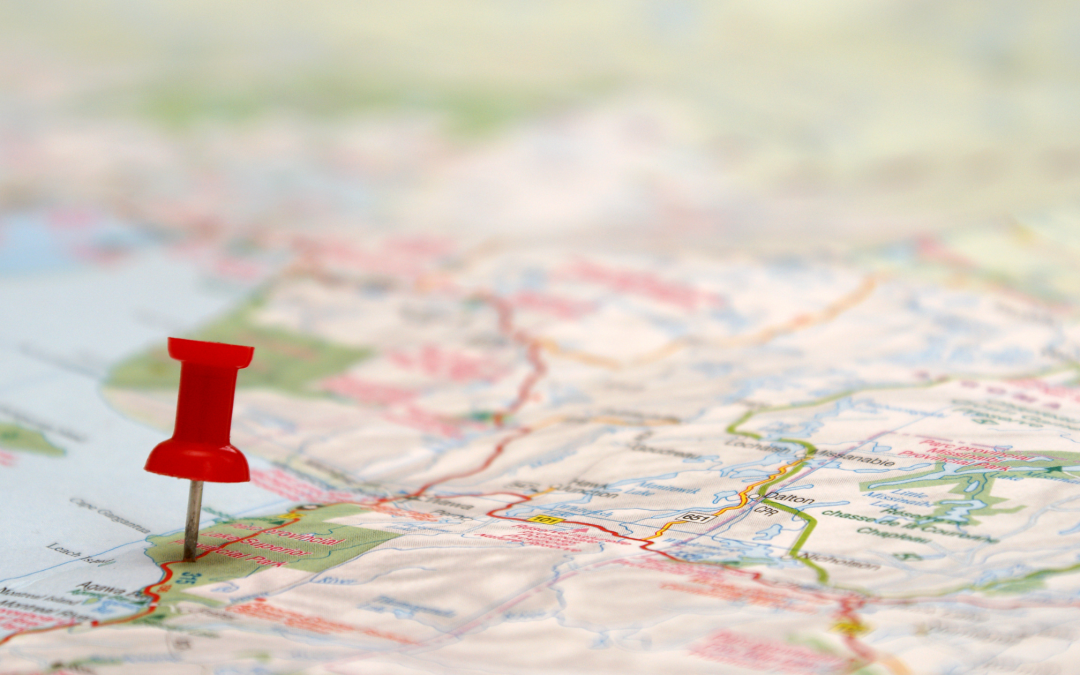
Why you should GeoTag your Google Business images
Geo-tagging your Google Business snaps is a savvy move for any business wanting to up their game online and connect better with local customers. This simple trick can seriously boost your business’s search engine optimisation (SEO), local search rankings, and overall customer engagement down under. In this blog, we’ll have a look at why you should start geo-tagging your Google Business.
1. Boost Local SEO
Geo-tagging snaps can give your local SEO a massive lift. By chucking geographical info on your images, you’re letting search engines know exactly where your business is parked. This makes it a breeze for search engines to show your biz in search results when folks are hunting for products or services in your neck of the woods. As a result, your business becomes more noticeable to potential customers keen on what you’re offering.
2. Enhance Google Maps Visibility
When you geo-tag your business images, these pictures can pop up in Google Maps searches tied to your location. This is a ripper benefit because loads of consumers use Google Maps to find businesses close by. Having actual shots of your business or products gives potential customers a better stickybeak into what to expect, which can be the clincher in choosing your business over the competition.
3. Increase Engagement
Images are ace for engagement. Customers are more likely to have a gander at visual content, and geo-tagged images can add an extra layer of relevance by linking your business to specific locations. This can make your content more engaging and relatable to local customers, leading to more interactions, shares, and even natter about your business.
4. Improve Relevance in Local Searches
Geo-tagging helps make your business more relevant in local searches. When search engines get the gist of where your images and business are located, they can match your biz more accurately with local search queries. This increased relevance can lead to better rankings in search results, making it likelier that local customers will stumble upon your business when they’re on the hunt for products or services you offer.
5. Build Trust with Potential Customers
Geo-tagged images give potential customers the hard evidence that your business is where you reckon it is. This can be a big deal for new or small businesses trying to build trust with customers. By showing real shots of your location, products, or services, you’re giving potential customers a fair dinkum look at your authenticity and transparency.
6. Enhance Content for Social Media
Geo-tagged images aren’t just good for your Google Business profile; they can also spruce up your content across social media platforms. Many social media users are on the lookout for local content, and geo-tagging can make your posts more discoverable to a local audience. This can help boost your social media reach and engagement, further promoting your business.
7. Detailed Insights and Analytics
Lastly, geo-tagging your images can provide valuable insights into how customers interact with your business online. Most platforms offer analytics on how users engage with geo-tagged content, allowing you to see which images get the most eyeballs and where your most engaged audiences are located. This info can be gold for refining your marketing strategies and targeting your efforts more effectively.
Geo-tagging your Google Business snaps is a simple yet powerful way to boost your online presence, connect with local customers, and give your local SEO efforts a leg up. By taking the time to add geographical info to your images, you can improve your visibility in local searches, engage more effectively with potential customers, and snag valuable insights into your audience. Start geo-tagging your snaps today and watch your local business presence grow.

by Anne Clark | Nov 20, 2023 | Business
Did you know that approximately 99,000 search queries are processed by Google every second, resulting in about 8.5 billion searches daily and roughly 2 trillion global searches annually. Given that the average individual conducts 3 to 4 searches daily, it can be inferred that hundreds of millions of people use Google each day. However, finding those accurate tangible results can be at times challenging.
Here is a list of 20 Google search hacks that can help you get more effective results:
- Exact Phrase: Use quotes to search for an exact phrase. For example, “climate change effects”.
- Exclude Words: Use a minus sign (-) before a word to exclude all results that include that word. For instance, jaguar -car.
- Site-Specific Search: Use “site:” to search within a specific website. Example: site:nytimes.com economy.
- Related Sites: Use “related:” to find sites similar to one you already know. E.g., related:time.com.
- File Type: Search for specific file types with “filetype:”. For example, climate report filetype:pdf.
- Wildcard Search: Use an asterisk (*) as a placeholder for any unknown or wildcard terms. E.g., “largest * in the world”.
- Search Within a Range: Use two dots (..) to convey ranges. Example: smartphone $200..$500.
- Definitions: Use “define:” to get the definition of a word. E.g., define:philanthropy.
- Cache: Use “cache:” to view the most recent cached version of a webpage. Example: cache:bbc.com.
- Specific Location News: Use “location:” to find news related to a specific location. Example: election location:Canada.
- Weather: Type “weather” followed by a location to get the current weather. E.g., weather Paris.
- Stock Information: Type the stock symbol to get real-time stock information. Example: AAPL.
- Calculator: Use Google as a calculator by typing in equations. E.g., 15% of 300.
- Time Zones: Type “time in [location]” to see the current time in a specific location. Example: time in Tokyo.
- Flight Status: Type the airline and flight number to get flight status. Example: AA 120.
- Sunrise and Sunset: Type “sunrise” or “sunset” followed by a location to find out times. E.g., sunrise New York.
- Convert Units: Use Google to convert between different units. Example: 10 dollars in euros.
- Search History: Use “my searches” to see your recent search history if you’re logged in.
- Specific Date Range: Under ‘Tools’, you can select a specific date range for more timely results.
- Advanced Search: Utilize Google’s Advanced Search for more detailed searching, accessible at the bottom of the search settings.
These hacks can significantly improve the precision and efficiency of your searches on Google.
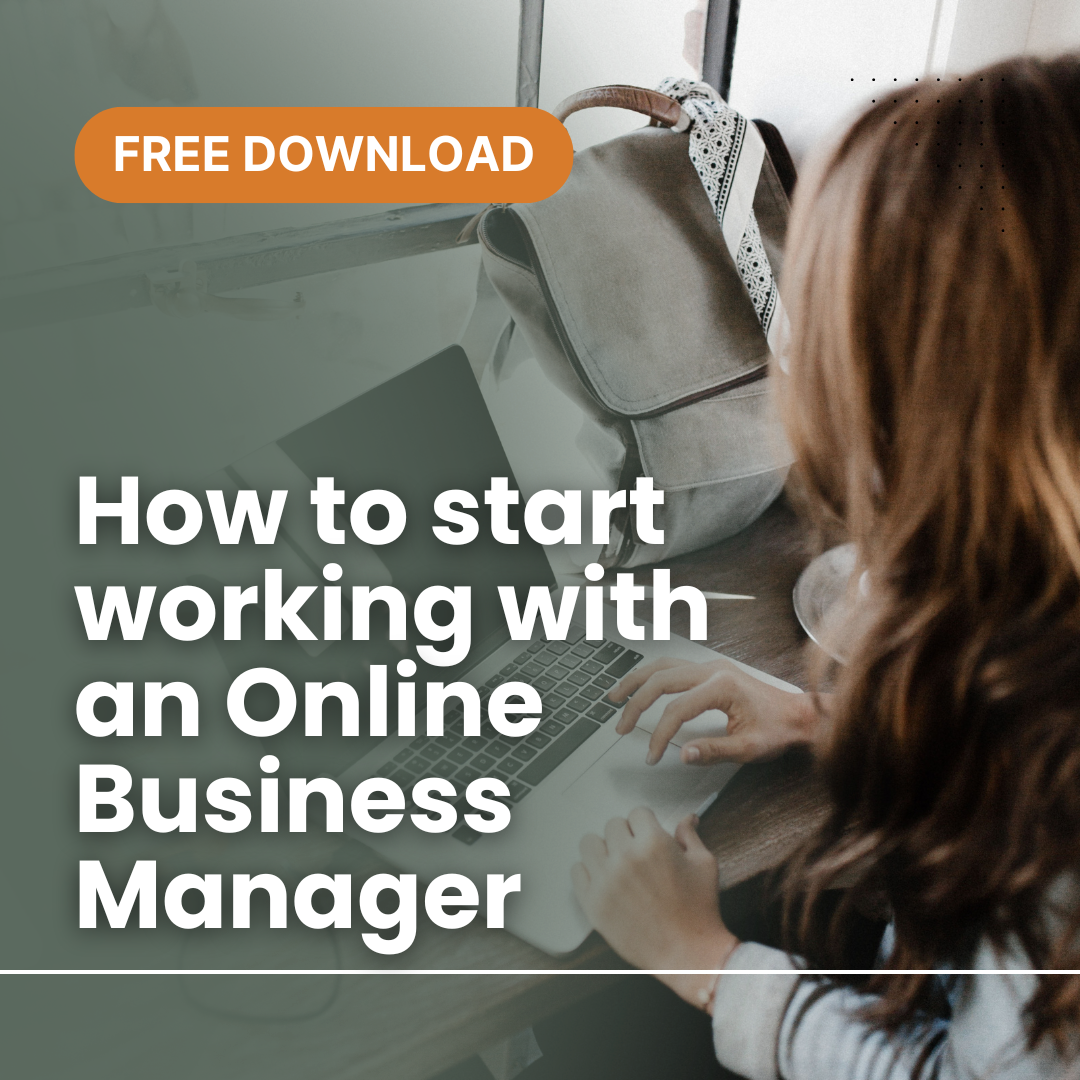
 Ready to step into your CEO role and learn how an Online Business Manager (OBM) can support your journey! Grab my FREE guide which outlines the fundamentals of how an OBM can support you to grow your business.